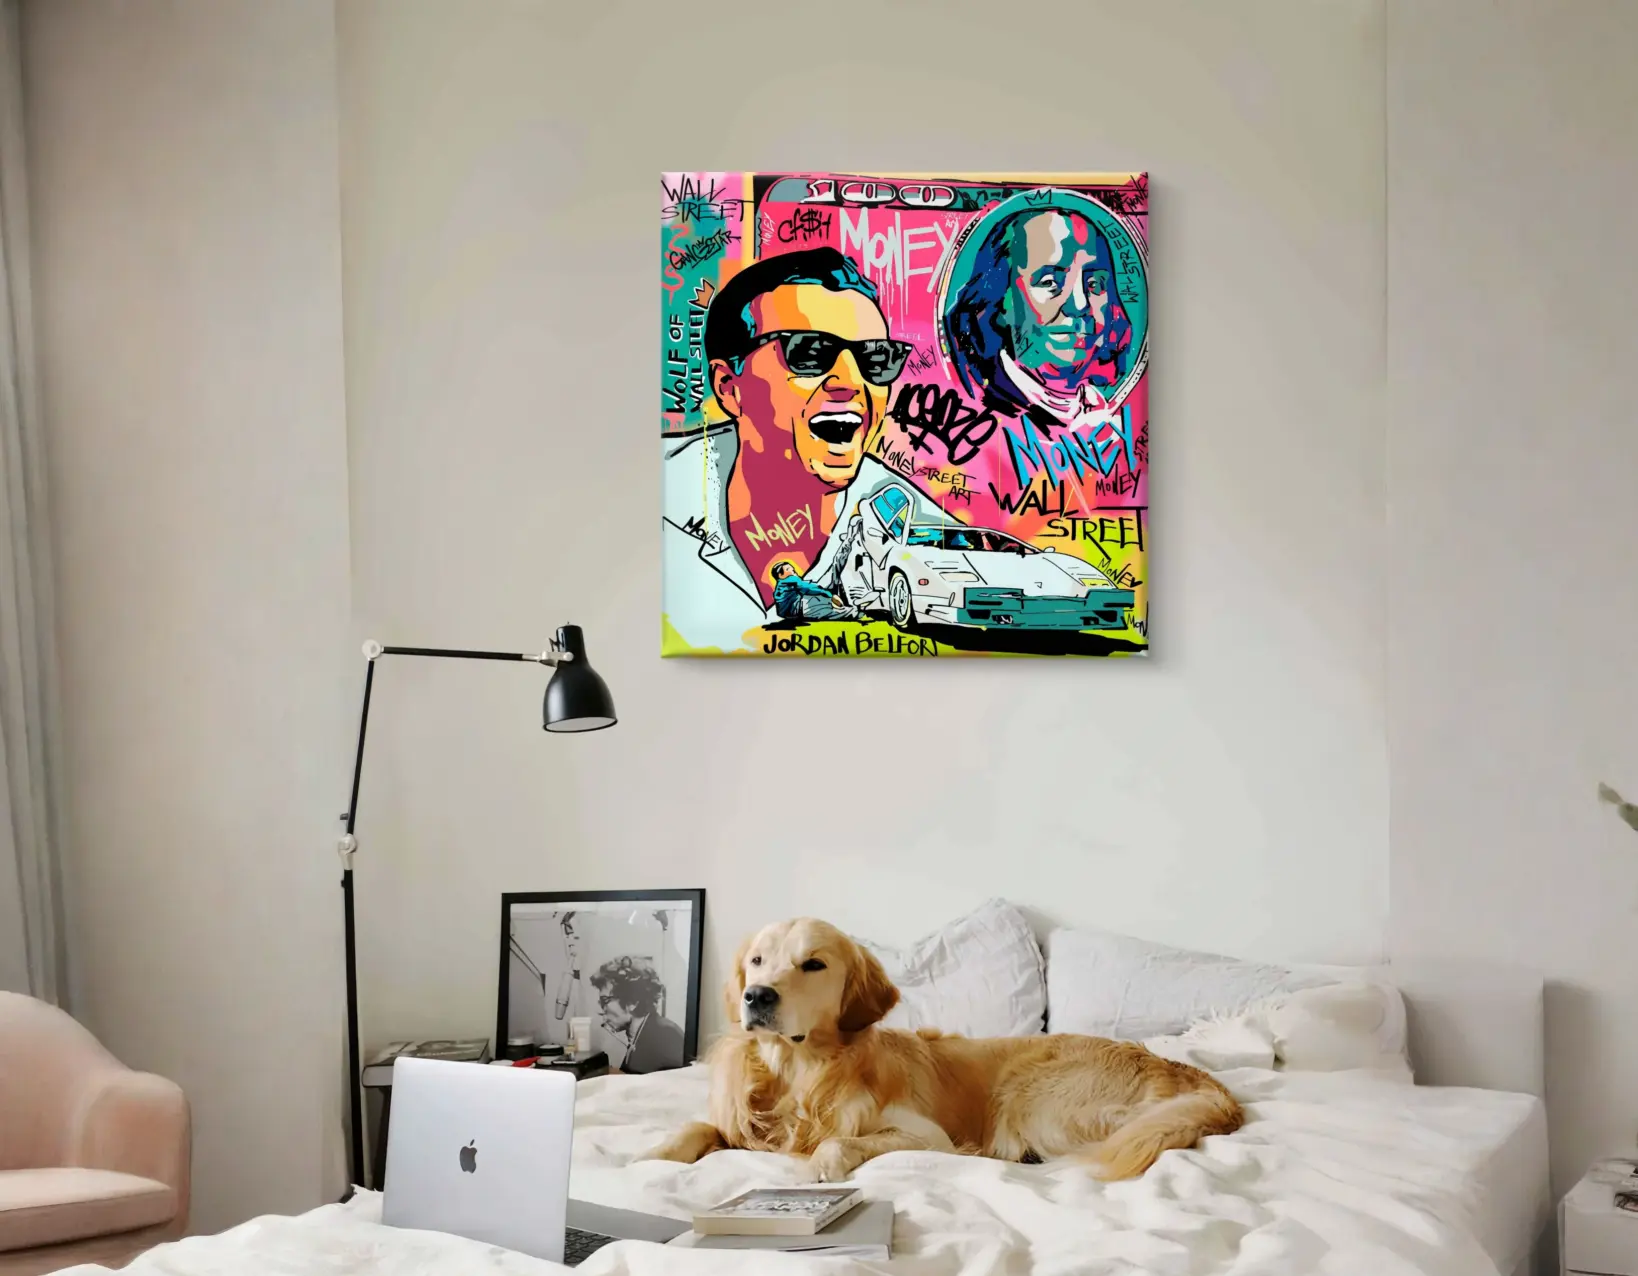
You've ordered a stunning large canvas print. It arrives at your door, perfectly wrapped and ready to hang. But now comes the part that makes many people nervous: actually getting it on the wall. Don't worry — with the right tools and technique, hanging a large canvas is surprisingly easy.
Here's a professional-grade guide to hanging your canvas perfectly every time.
What You'll Need
- Pencil
- Measuring tape
- Level (or a smartphone level app)
- Hammer
- Wall hooks or D-ring hangers (included with most canvas orders)
- A helper (for canvases wider than 90cm)
Step 1: Choose the Right Wall
Before you grab the hammer, consider these factors:
Wall Material
- Brick/Concrete walls (common in Indian homes): Use wall plugs (rawl plugs) with screws.
- Plaster/Drywall: Use appropriate wall anchors rated for the weight.
- Wooden panels: Standard screws work perfectly.
Lighting
Natural light from a nearby window brings out the colours in canvas art. Avoid walls that receive direct afternoon sunlight — even UV-resistant inks will fade faster under constant direct sun.
Visibility
Choose a wall that's visible from your room's primary seating area. The canvas should be the first thing you notice when entering the room.
Step 2: Determine the Perfect Height
The golden rule of art hanging: the center of the canvas should be at eye level. For most people, this means:
- Center point: 145-152cm from the floor
- Above a sofa: Leave 15-20cm between the top of the sofa and the bottom of the canvas
- Above a bed headboard: Leave 10-15cm between the headboard and the canvas
- Above a console/sideboard: Leave 15-25cm of space
For Indian homes with higher ceilings (10-12 feet), you can raise the canvas slightly — but never hang it so high that viewers have to crane their necks.
Step 3: Mark and Measure
For a Single Canvas:
- Measure the canvas width and height.
- Find the center point of your wall (or the center above your furniture).
- From that center point, measure half the canvas width to the left and right — mark these with light pencil dots.
- Measure the hanging hardware on the back of your canvas. Note how far the wire/D-ring sits from the top of the canvas.
- From your desired center height, add that measurement upward. This is where your hook goes.
For Multi-Panel (Split Canvas):
- Lay all panels on the floor in order.
- Decide on the gap between panels (typically 3-5cm).
- Calculate the total width: sum of all panel widths + gaps.
- Center that total width on your wall and mark the position of each panel's hook individually.
Step 4: Install the Hardware
For Brick/Concrete Walls:
- Mark your hook position with a pencil.
- Use a masonry drill bit to drill a pilot hole.
- Insert a wall plug (rawl plug).
- Screw in a picture hook or heavy-duty wall screw, leaving 0.5cm protruding.
For Drywall/Plaster:
- Use adhesive picture hanging strips for canvases under 3kg.
- For heavier canvases, use toggle bolts or expandable wall anchors.
Step 5: Hang and Level
- Carefully lift the canvas and hook the wire/D-ring onto your wall hook.
- Place a spirit level on top of the canvas and adjust until perfectly horizontal.
- Step back to the room's primary seating position and evaluate. Does it look centered? Is the height comfortable?
Pro Tips from Interior Designers
The Newspaper Trick
Before drilling any holes, cut out newspaper pieces that match your canvas size. Tape them to the wall with painter's tape. Live with them for a day to confirm the placement feels right.
Group Hanging Made Easy
When hanging a gallery wall with multiple canvases:
- Start with the largest piece at the center.
- Work outward, maintaining consistent gaps.
- Use painter's tape on the floor to arrange your layout before committing to the wall.
Use Two Hooks for Large Canvases
For canvases wider than 90cm, use two hooks spaced 1/3 of the canvas width from each edge. This distributes weight evenly and prevents the canvas from shifting.
Felt Bumpers
Stick small felt pads to the bottom back corners of your canvas. This prevents the canvas from scratching the wall and helps it hang flat.
Common Mistakes to Avoid
- Hanging too high: The most common mistake. Remember eye level, not ceiling level.
- Ignoring the furniture relationship: A canvas should relate to the furniture below it, not float randomly on the wall.
- Using inadequate hardware: A canvas might look light, but a large stretched canvas can weigh 3-5kg. Use appropriate wall hardware.
- Rushing the process: Take your time measuring. A crooked canvas is worse than no canvas at all.
Make a Statement with Large Format Art
To test your new hanging skills, look at these incredible large-format statement pieces:
- The Wolf of Wall Street Canvas: A massive, highly motivating cinematic statement piece that commands complete attention in any executive office or workspace.
- Celestial Frontier Canvas: A breathtaking cosmic panorama that looks spectacular in oversized single or split-panel layouts.
Conclusion
Hanging a large canvas print is a 15-minute job that transforms your room for years to come. With the right measurements, appropriate hardware, and a bit of patience, you'll have a professionally hung masterpiece that makes your walls come alive.
Written by
Suraj
Writes the GPSFDK blog: guides to choosing, hanging and caring for wall art in Indian homes. More How-To articles